

WHAT YOU NEED TO SUCCEED
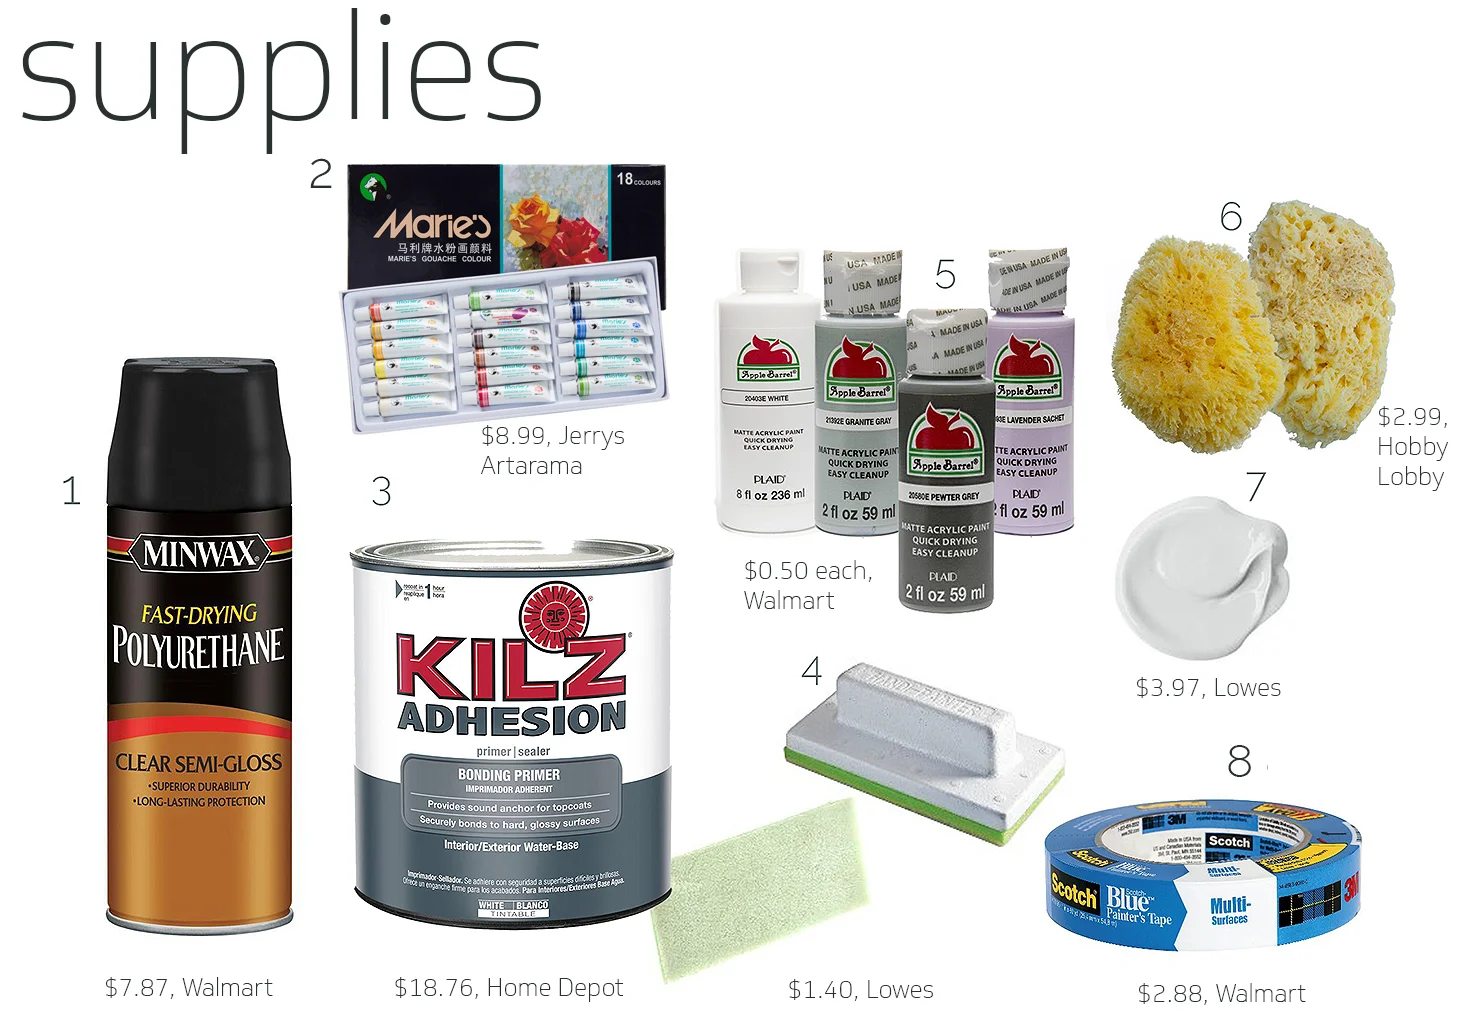
1 Minwax Fast-Drying Polyurethane Spray (2 coats is ideal!)
2 Marie's Gouache (I used the black gouache as it was water soluble-- a black gouache of any brand will probably do the trick)
3 KILZ Adhesion Bonding Primer (2 coats! You could get by with using 4 coats of regular KILZ if you are on a tight budget but the adhesion bonding was totally worth it when working with formica!)
4 Shur-line-style Foam Flocked Painting Edger (These were in the paint supplies section. Super low cost but amazing product to use!)
5 Apple Barrel Paint in Pewter Grey, Granite Gray, Bright White, and Lavender Sachet (The lavender and pewter help offset the higher contrast tones.)
6 Sponges (optional-- I ended up using wads of paper towels as they left less of a texture but either one works well)
7 Olympic Paint in Thin Ice (I used a small trial size-- if you can find a similar color in the seasonal trials near their paint chip area it can save you some serious $$$)
8 Scotch Blue Painter's Tape (is your BFF. For real.)

This table really needed some love.
BACKGROUND I had been looking for a tulip-type table probably forever to match my Bertoia chairs and had zero luck. I finally decided to try to just find something visually similar for now. One day I was on Facebook Marketplace and saw this table for $10. It had just a standard white Formica top and needed a good paint job but for $10 I figured it was worth a shot. The previous owner was a rad lady and it was cool to carry on the legacy of something that was very dear to her.

STEP ONE For my project I needed to paint the base, so I used a few coats of a rust-inhibiting spray paint.

STEP TWO Seeing the chairs with the table helped me to better visualize how I would "marble" it to match. I have several actual Carrera marble pieces and other furniture so I used those as my loose inspirations. If you have an image or object to reference it can be helpful. I primed the surface of the table with the KILZ Adhesion Bonding Primer twice, giving each coat about two hours to dry before proceeding. The foam edger made it super easy and kept it from looking too streaky.

STEP THREE The next step is the most expressive. I took a wad of paper towels (a sponge or old rag could work similarly) and dabbed on the Thin Ice paint in diagonal streaks (about 3-4 inches in diameter and a couple inches apart across the table) and then feathered the edges as they began to dry. Then I added 1/2" drops of the acrylic paints (a little bit of each color in each section) and sponged them around while dragging them periodically. The white and lavender gave good highlights and the pewter added a more yellowish undertone. This helps to give a more "lateral" depth to the individual colors.
The keyword is layering and you pretty much make multiple layers and as they begin to dry you add more. Add painter's tape to anything you don't want to get excess paint on and drop cloths/newspaper are a must. The table will look "painted" but it has a really neat quality that still gives you a marble-like appearance.
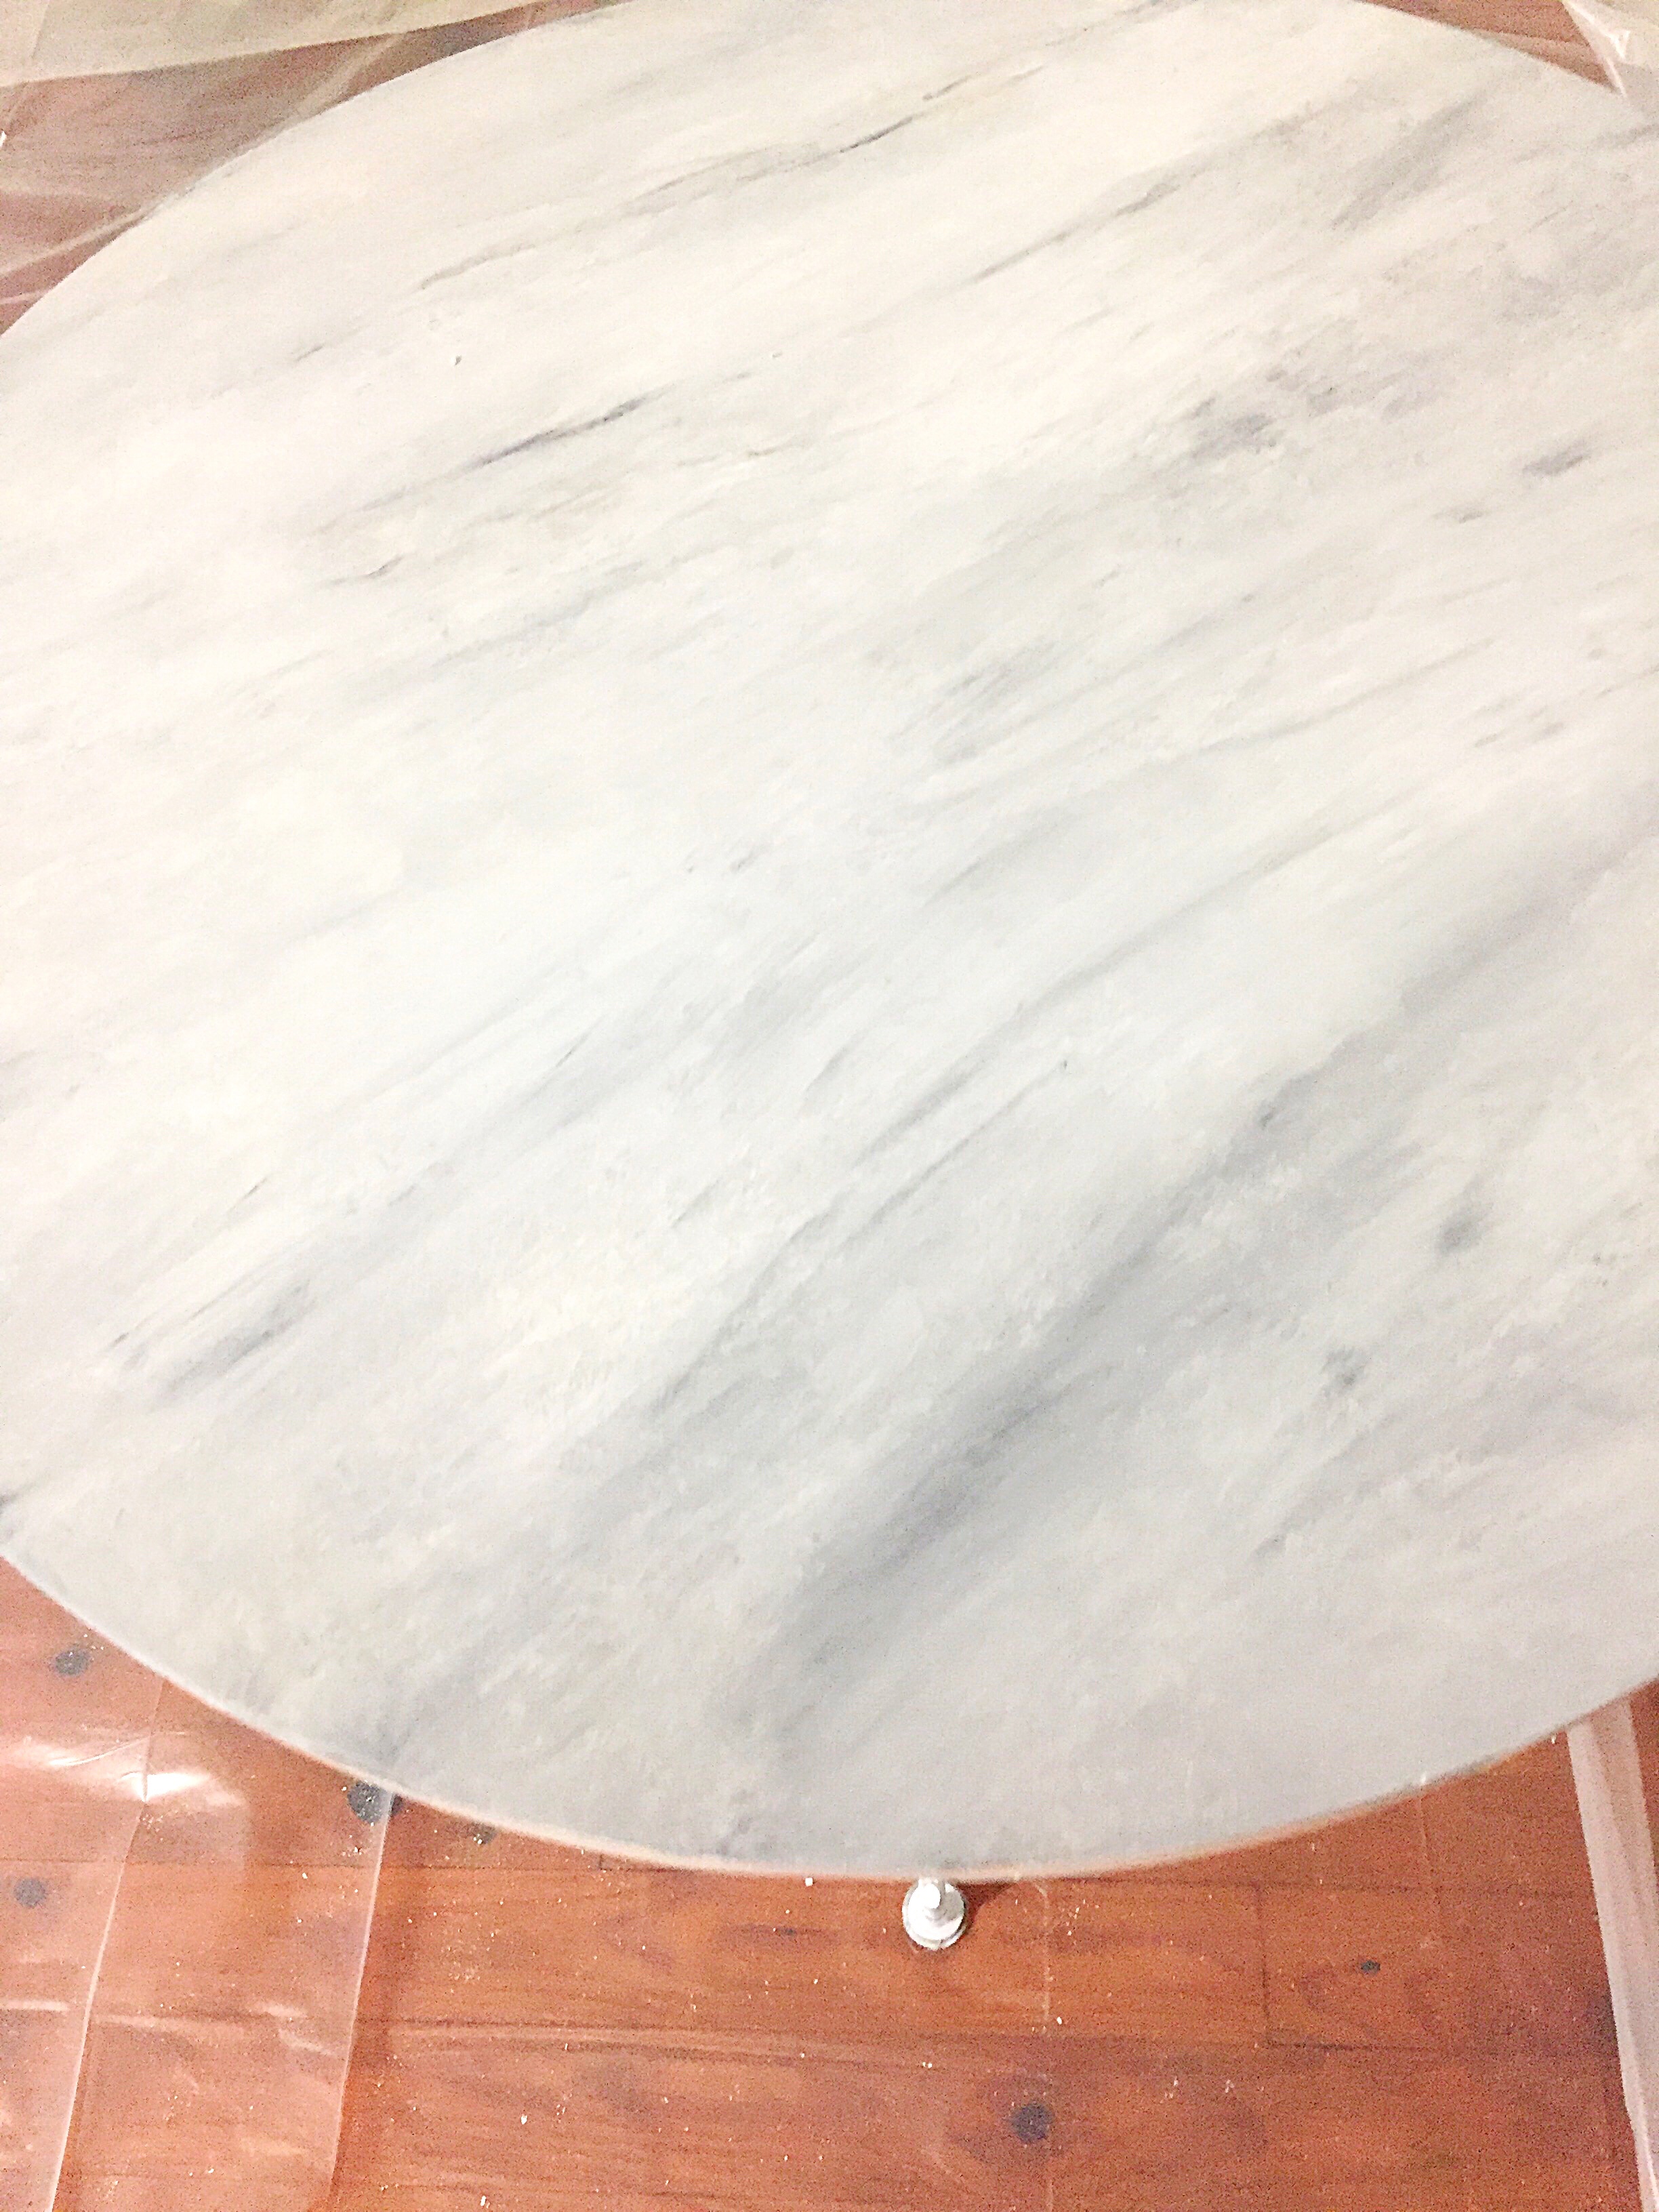
STEP FOUR So the next big step is to add the black gouache streaks. Many people use feathers but I just used a round 01 paintbrush and a little bit of water and dragged it across from one end of the table to the other, frequently lifting up to add breaks in the lines (think dotted lines.) I added a few veins here and there as needed stretching out from the original line. Then I added extra thicker areas on each end made it more realistic. This looks like absolute crap at first but I promise it is worth it. You can add as many as you feel necessary.
As the gouache begins to dry, you will want to sponge over with the mixed acrylic colors very faintly so that you don't remove all of the black. Then you sponge and drag and sponge and drag, until you achieve a more marbled look. The beauty of it is if you mess up, just keep layering! If the paints are going on too thick, adding a bit of water to your brush will give it more transculency. The details will eventually work themselves out as they dry.
I made a higher-contrast layer and ended up nixing it because it was too much and went back to a more low-key version like before. Through trial and error I did something like this three times in an evening before the layers ended up exactly the way I wanted them. I then let it dry overnight and (optional step) sanded it down with a fine grit sandpaper where any excess paint resided.

FINAL STEP Once I was happy with the result, I sprayed the table with the Polyurethane twice, letting the coats dry a few hours each time. (MAKE SURE TO USE ADEQUATE VENTILATION, FOLKS.) Then I removed the painter's tape and all of the paint from my hands.
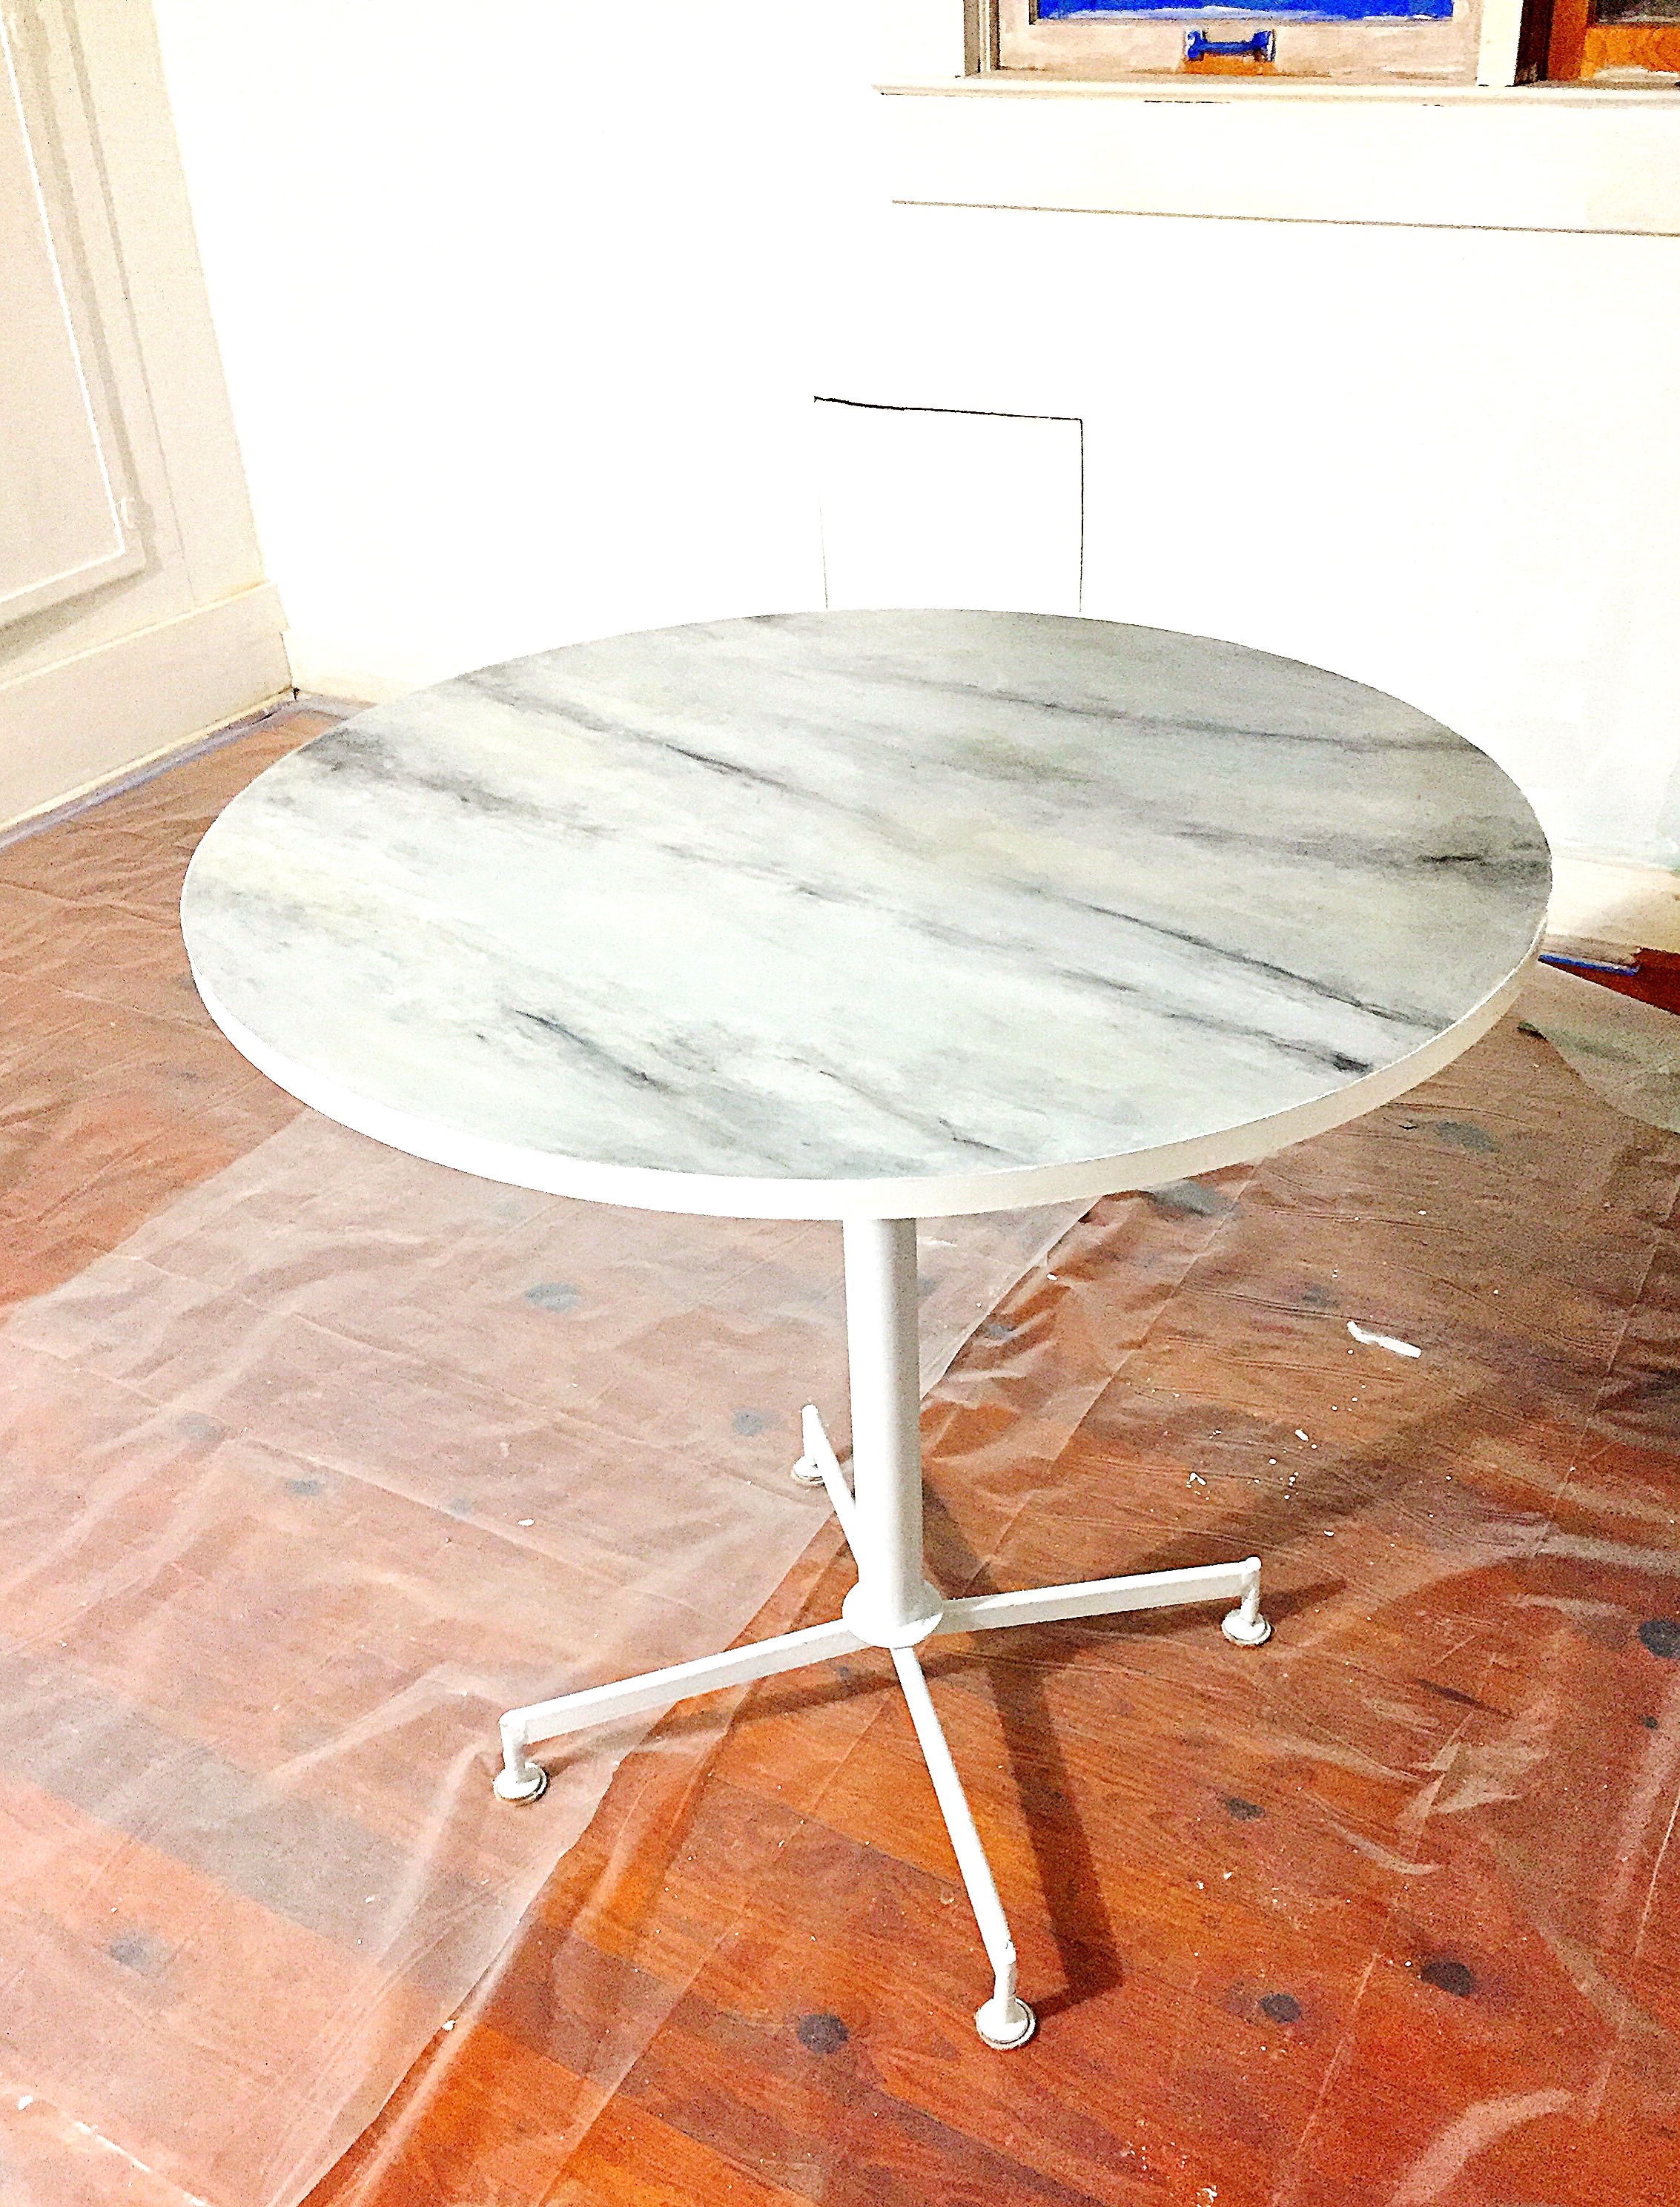
RESULT Voila! A totally different table! This was my first experiment in marbling something and I was pleasantly surprised with the outcome despite the trial and error.

Have you recently tried to marble something as well? Please post your pro tips and links to your work in the comments! We'd love to see how you did it, too!
